Showing posts with label pumpkin. Show all posts

Sunday, December 23, 2012

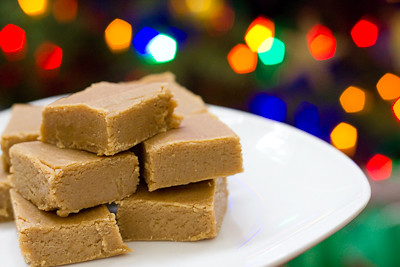
Maple Pumpkin Fudge

I love maple fudge and originally went in search of a maple fudge recipe when I stumbled upon this maple pumpkin fudge.  It's the perfect fall/holiday recipe and seems fairly fool proof - I actually let it get a bit too hot (up to 239 degrees) and it still turned out just fine. 

Just imagine pumpkin pie filling with maple syrup in it, in convenient bite size servings... that is what this fudge tastes like! The maple flavor is certainly there; I'd say it's a good blend of maple of pumpkin... but if you want a predominantly maple fudge with pumpkin undertones, then I would suggest adding maple extract for a stronger maple flavor.

So if you're doing some last minute baking in the days leading up to Christmas, try this unique fudge recipe and let me know what you think.  I'd still like to find a good plain old maple fudge recipe, too, so if you've got one, please leave me a link in the comments section below!
 
Maple Pumpkin Fudge
from Sugar Crafter
    1 1/2 cups granulated sugar
    1 1/2 cups packed light brown sugar
    1 1/2 sticks unsalted butter, cut into small pieces
    2/3 cup evaporated milk
    2/3 cup pureed pumpkin
    1 tsp cinnamon
    1/4 tsp nutmeg
    1/8 tsp cloves
    2 cups white chocolate chips (one 12 ounce bag)
    1/2 lb marshmallows or marshmallow crème
    3 Tbsp maple syrup

Line a 12×8″ baking dish with foil, letting it hang over the edges. In a large sauce pan, whisk together the sugars, butter, evaporated milk, pumpkin, and spices.

Bring to a foil over medium heat, stirring constantly. Continue boiling for 10-12 minutes or until the candy thermometer registers 235 degrees Fahrenheit – soft ball stage (soft ball stage occurs when you drop some of the mixture into a bowl of cold water, and it forms a “soft ball” when it cools and is removed from the water).

Stir in the white chocolate chips first, and then the marshmallows or marshmallow crème and maple syrup.

Stir until melted, and then immediately pour into the prepared pan.

Let cool on a wire rack for 2 hours or until completely cooled. To cut, lift the foil from the ends of the dish. Cut the fudge into 1″ squares. Store in the refrigerator or freezer.

Saturday, December 22, 2012

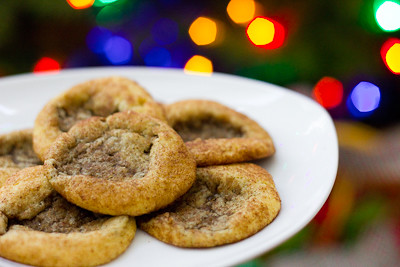
Pumpkin Gingerdoodle Cookies

One of the first food blogs I ever started following was Peabody's blog, Culinary Concoctions by Peabody.  Everything she makes looks amazing - I truly wish I was one of her friends so I could have the pleasure of eating all of it ;) So, when I went in search of recipes to try this holiday season, I knew that I could surely find something wonderful to make from there.

And I was right.  After scrolling through a few posts, I stumbled upon these pumpkin gingerdoodle cookies.  Part pumpkin snickerdoodle and part gingersnap cookie, these cookies combine some of everyone's favorite holiday flavors.  My husband walked into the kitchen and saw me pulling these out of the oven and asked, "Can I have a snickerdoodle?" I informed him they weren't snickerdoodles but pumpkin gingerdoodles and he was happy to try them.  He quickly proclaimed, "These are way better than regular snickerdoodles."

I only had two issues with these cookies.  The first issue was really a non-issue: I had way more pumpkin snickerdoodle dough than gingersnap dough.  So in the end, I made some plain pumpkin snickerdoodle cookies as well (all were eagerly consumed regardless). 

The second issue was in the consistency of the cookies.  The pumpkin snickerdoodle dough puffed up into a wonderful moist, slightly cakey cookie.  The gingersnap dough, on the other hand, puffed up but deflated after I pulled it out of the oven.  So, my cookies looked lopsided when I placed the cookie doughs side by side.  Next I tried a batch with the pumpkin snickerdoodle dough on the bottom and the gingersnap dough on top.  Those turned out okay, but they weren't very aesthetically pleasing.  So finally I made a batch with the gingersnap dough on the bottom and the pumpkin snickerdoodle dough on top and those cookies turned out to the look the best.  I'm not sure how Peabody got her cookies to look the way that she did, but the cookies you see in the photo at the top of this blog post were the best that I could do. 

Regardless of how these cookies look, they are amazing.  We couldn't stop eating them in our household and almost didn't have enough to give out to family and friends because we wanted them all to ourselves! So, if you're going to only try one new recipe out this holiday season, I encourage you to make it this one - I promise you won't regret it!

Pumpkin Gingerdoodles
from Culinary Concoctions by Peabody


Pumpkin Snickerdoodle Dough

1 1/2 cups granulated sugar
1 cup unsalted butter
2 eggs
¾ cup pumpkin puree
3 cups all-purpose flour
2 tsp. cream of tartar
1 tsp. baking soda
1/4 tsp. salt

for rolling the cookies in: (I had to double this)
1/4 cup granulated sugar
2 tsp. ground cinnamon

Mix 1 1/2 cups sugar, the butter, pumpkin, and eggs in a stand mixer with paddle attachment.  (It will appear curdled, but don't worry it will all come together in the next step.)

Add in flour, cream of tartar, baking soda and salt and mix on low until fully combined. Set aside.

Gingersnap Dough

3/4 cup butter
1 cup granulated sugar
1/4 cup molasses
1 egg
2 cups all-purpose flour
2 teaspoons baking soda
1/4 teaspoon salt
1 teaspoon cinnamon
1 teaspoon cloves
1 teaspoon ginger

Combine cinnamon and sugar in a small bowl and set aside for rolling dough in.

Cream together butter and sugar. Add molasses and egg and continue beating. Add flour, baking soda, salt, cinnamon, cloves, and ginger and mix until combined, scraping down the sides of the bowl as needed.

Preheat oven to 350°F. Lightly grease baking sheets with no-stick cooking spray and set aside.

(I found that it's best to refrigerate both cookie doughs for at least one hour before assembly and baking.)

Roll a small amount of gingersnap dough into a ball and a small amount of snickerdoodle dough and place them together and gently roll or squeeze together.

Roll in cinnamon sugar.

Place on baking sheets and bake for 9-11 minutes. Remove from oven and allow to cool on baking sheets for 2 minutes before moving to cooling racks.

Sunday, December 4, 2011

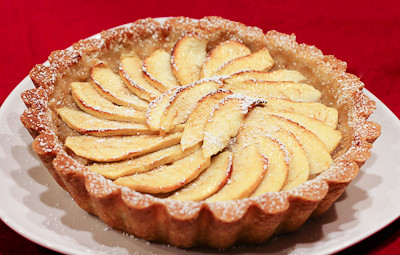
Sour Cream Pumpkin Tart and Normandy Apple Tart (TWD)


This week for Tuesdays with Dorie (TWD) we had two recipes! (I actually had this post ready to go on Tuesday night and just realized I never posted it! oops!) The recipes were chosen by Tracey of Tracey’s Culinary Adventures and Judy of Judy’s Gross Eats. Tracey chose the Normandy Apple Tart and Judy chose the Sour Cream Pumpkin Pie/Tart.  I was ambitious this week and made both :)

The Normandy Apple Tart is a very rustic and homey dessert.  It's basically a tart shell filled with delicious homemade (or store bought) applesauce, then layered with apples on top.  It's amazing how something so simple can be so delicious.  I think using your own homemade applesauce really makes a difference in this dessert.  I am also a huge fan of Dorie's tart shell recipe and use it all the time.... I even used it for the Sour Cream Pumpkin Pie recipe because Dorie mentions that as an alternative to your traditional pie crust.


The sour cream pumpkin pie was one of my husband's favorite desserts this Thanksgiving.  He said he liked it better than traditional pumpkin pie because it wasn't so heavy.  I thought that was interesting, given the amount of heavy cream in it ;) It has a nice blend of spices to it and I think the addition of some rum to the filling really makes it stand out.


While the pumpkin pie can be served cold or at room temperature, I thought the flavors were a bit muted when it was chilled, so I would definitely recommend serving it at room temperature.

Thanks, Tracey and Judy, for hosting this week! I really enjoyed both recipes.  I don't normally eat pumpkin pie except around Thanksgiving, but I could definitely see myself making the Normandy Apple Tart a few times each fall :) If you'd like the recipes, please click here for the Normandy Apple Tart and here for the Sour Cream Pumpkin Pie.

* Recipe notes:
- Make sure to put a pie crust shield (or some foil) around the edge of your tart about 20-30 minutes into baking to avoid burning the edges.

Tuesday, October 19, 2010

Caramel Pumpkin Pie & A Giveaway

This week's Tuesdays with Dorie (TWD) recipe was chosen by Janell of Mortensen Family Memoirs: Caramel Pumpkin Pie. I was about to say that I made this one last year, but when I looked back, it was actually two years ago! Where does the time go?

This is my favorite pumpkin pie recipe.  I love the caramel undertone.  If you're looking for a pumpkin pie recipe for this Thanksgiving, then look no further.

Now on to the giveaway... if you've recently had a baby or know someone who is expecting, you'll be interested in this one.  Just click here to find out more and to enter to win.

Tuesday, November 10, 2009

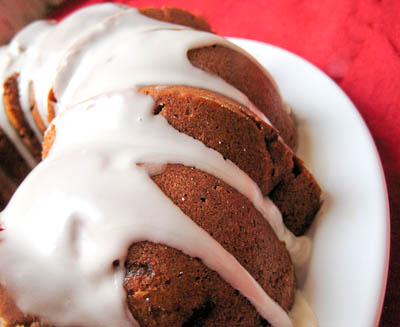
All in One Holiday Bundt Cake (TWD)


As I pointed out last week, for the month of November, we're switching things up and the recipes can be posted in any order, not just one particular week. So for this week's Tuesdays with Dorie (TWD) installment, I made the recipe chosen by Britin of The Nitty Britty: All in One Holiday Bundt Cake.


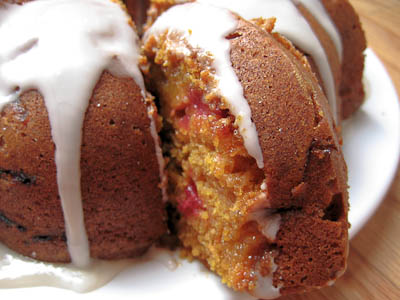
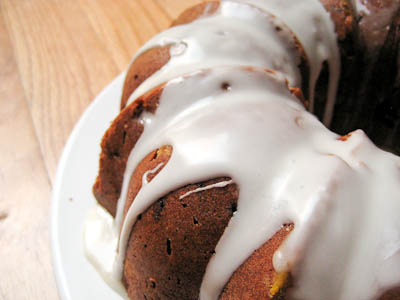
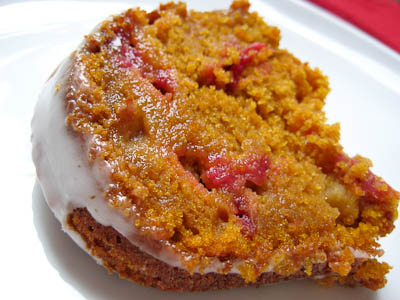
It really is everything you think of when it comes to the holidays. It's a spiced pumpkin cake filled with apples, cranberries, and pecans (though I omitted the pecans). Much better than any traditional fruit cake, in my opinion!

Dorie says it's a one bowl recipe, but I am not sure how it can be when you have liquid and dry ingredients? It is, however, a pretty simple recipe that requires only two bowls. The most time consuming aspect of this recipe is peeling and chopping the apple and chopping up the fresh cranberries.


I read that some bakers had problems getting their cake to release from the bundt pan. I had no such issues, but I did butter and flour my pan. The recipe says to just butter it but I have always buttered and floured my bundt pans so I went ahead and did that and it worked just great.


This was a pretty good cake. I really enjoyed the flavors of pumpkin, apples & cinnamon, and cranberries together. A lot of my apple chunks sank to the bottom of the bundt pan (top of the cake) but otherwise everything came out perfectly.


Thanks Britin, for picking this recipe - it's a great cake for the holidays. If you would like the recipe, you can find it here. Make sure you check out the TWD Blogroll, to see what everyone else baked up this week.

* Another update - I am due tomorrow, with no promising signs of labor thus far, so we'll just have to wait and see when this baby makes her arrival! In the meantime, I'll keep baking along...


* Recipes notes:
- For easy release from your bundt pan, butter and flour it before adding the batter. PAM cooking spray with flour works well, too.
- Baking time was just at 65-70 minutes in my oven.
- Wrapped well, the cake will keep at room temperature for up to 5 days, at which point it will be perfect for toasting, or for up to 2 months in the freezer.
- For more tips, click here.

Thursday, November 27, 2008

Twofer One (TWD)


This week's Tuesdays with Dorie (TWD) recipe was chosen by Vibi of La casserole carrée: Thanksgiving Twofer Pie. As I was flipping through the book, I couldn't help but also notice the Caramel Pumpkin Pie that follows the Twofer Pie. I love caramel. So I decided to make both :) So in this week's TWD installment, you get twofer one ;)
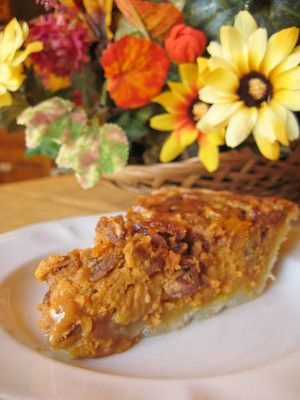

The Thanksgiving Twofer Pie is part pumpkin pie, part pecan pie. Dorie describes the two fillings as melding in the oven "into a combo-filling, creamy on the bottom, sweet and crunchy (but not typically pecan pie soft) on top."
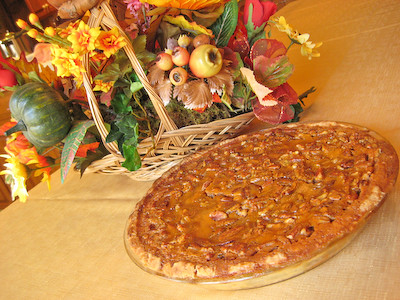

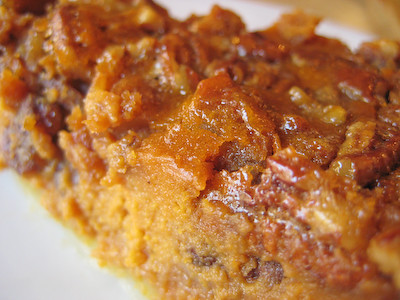
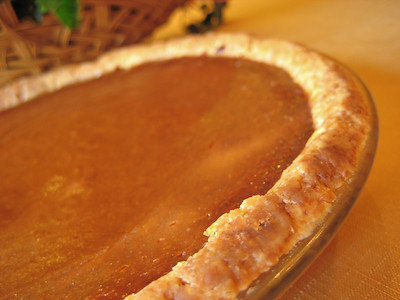
The only major problem I had with my pie was that there was too much filling. I used a standard 9-inch pie dish and I had to reserve about 1/4 cup of the filling, or else it would have spilled over while baking. I know some TWD bakers had problems with their crust browning too much, but I used my pie crust shield during the last 30 minutes of baking and it came out perfectly. I did encounter the same issue that many had in that I had to bake mine longer than the indicated time - I had to bake my pie for an additional 10 minutes. The key to knowing when it is done (aside from the knife test) is to wait until it is nice and puffed in the center.
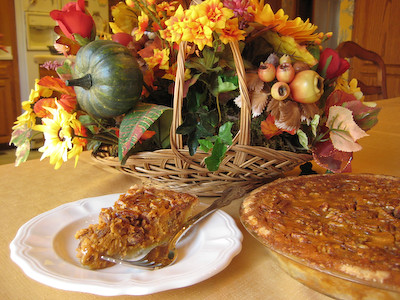

I can't attest to the taste of this pie, because I didn't have any (I don't like nuts). Those who had a slice seemed to enjoy it though. Look at the wonderful caramelized, sugary crust that formed on the top of this pie...

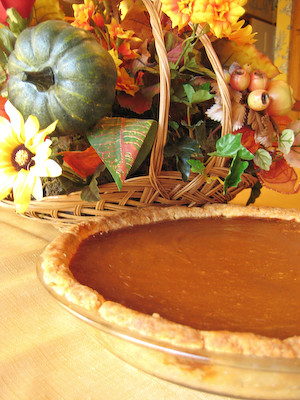
The Caramel Pumpkin Pie was very simple to make, but the caramel part can be tricky. The problem with caramel is that there's a very fine line between "deep amber, mahogany" and brown, black, and burnt.

Even though I've made caramel several times in the past, I still had to make this twice because I burned the first batch. The sugar started to caramelize and became smoky very quickly, and before I knew it, it was a very dark brown. I put a small bit on a spoon and tasted it, and it was bitter. So I dumped it out, rinsed the pan, and started over. The second time around, I was more careful with the sugar and was able to get it to just the right stage of caramelization.
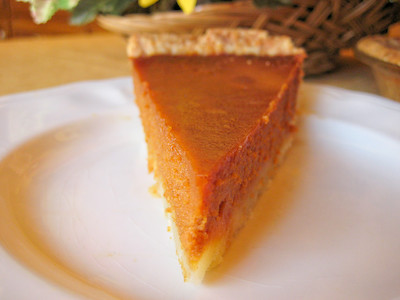

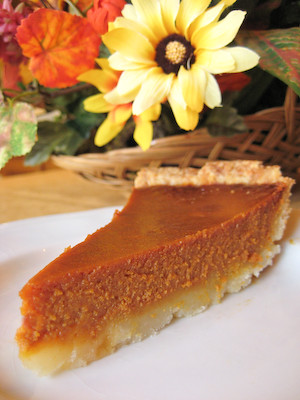
The caramel added a nice flavor to the pumpkin pie. The rum was a nice addition as well, but if you don't have any on hand, you can just omit it. I really enjoyed this pie; I don't think I'll ever go back to making plain old pumpkin pie.

I had hoped to post this before Thanksgiving, so you could use these recipes, but unfortunately I had to work up until Wednesday evening and just couldn't get it in. There's no rule stating you can't have pumpkin after Thanksgiving, though, so if you're a pumpkin fan, you should give these a try.
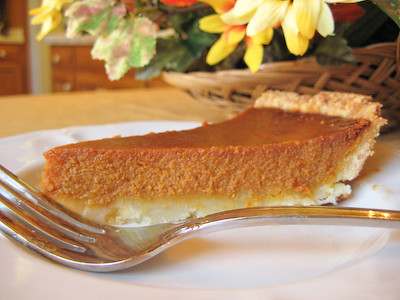

Thanks Vibi, for choosing the Twofer Pie. It was perfect for Thanksgiving! You can find the recipe for the caramel pumpkin pie below. If you would like the recipe for the Thanksgiving Twofer Pie, you can find it here (with recipe tips here). Make sure you visit the TWD Blog Roll to see how everyone else enjoyed this unique Thanksgiving treat!

I hope everyone has a great Thanksgiving, full of holiday cheer, wonderful memories, and of course... lots of good food! :)

Caramel Pumpkin Pie
from Baking: From My Home to Yours, by Dorie Greenspan

1 9-inch single crust made with Good for Almost Everything Pie Dough, partially baked and cooled (recipe below)

1 cup sugar
3/4 cup heavy cream
2 tablespoons dark rum, cognac, or apple cider
2 tablespoons unsalted butter, cut into 4 pieces
1 cup canned pumpkin puree
1 1/4 teaspoons ground cinnamon
3/4 teaspoon ground ginger
pinch of freshly grated nutmeg
tiny pinch of ground allspice
pinch of salt
1 1/2 teaspoons pure vanilla extract
2 large eggs

Lightly sweetened whipped cream, for serving

Getting Ready:
Center a rack in the oven and preheat the oven to 350 degrees F. Place the pie plate on a baking sheet lined with parchment or a silicone mat.

Sprinkle 1/2 cup of the sugar evenly over the bottom of a large nonstick skillet. Place the skillet over medium-high heat and staying close by, cook until the sugar melts and starts to color. Once you see a little color, gently swirl the skillet so that the sugar colors evenly. Cook the sugar, without stirring, until it turns deep amber--almost mahogany. The sugar will bubble up and foam and soon it will start to smoke. It is very dramatic, and it might make you think you've gone too far, but you want a dark (though not burned black) color; the darker the sugar, the fuller the flavor. When the bubble shave gone from foamy to big and fat, you will probably have reached the right color. To check the color, drop a bit of the caramelized sugar on a white plate.

Lower the heat to medium, stand back and pour the cream into the skillet. The sugar will bubble and hiss and, if the cream was cold, it may even clump. Just continue to cook, stirring, and it will even out. Add the rum (or cider) and butter and cook just until the caramel is smooth. Pour the caramel into a heatproof pitcher or bowl and cool it for about 15 minutes.

Working with a whisk in a large bowl, beat the pumpkin to break it up and smooth it. Add the remaining 1/2 cup sugar and beat to blend. Whisk in the spices, salt, vanilla and eggs, beating until the mixture is smooth. Whisk in the caramel. Rap the bowl against the counter a few times to de-bubble the filling, then pour the filing into the crust.

Bake for 45 to 50 minutes, or until the filling is puffed and set--tap the pan gently and the filling won't jiggle. A thin knife inserted into the center of the pie will come out clean--it also leave a gash in the filling, but you'll be covering it with whipped cream.

Transfer the pie to a rack and cool to room temperature, or cool and refrigerate. When you are ready to serve, spread the lightly whipped cream over the top of the pie. If you'd like a dressier look, whip the cream until it is firm, put it into a piping bag fitted with a start tip and pipe rosettes over the surface of the pie. Alternatively, you can pipe the cream in a lattice pattern.

Playing Around:
Streuseled Caramel Pumpkin Pie

Pecan Streusel

To add a little crunch to this dessert, bake the pie for 10 minutes, then scatter chunks of pecan streusel over the top and finish baking.

2 tablespoons all-purpose flour
2 tablespoons brown sugar
2 tablespoons chopped pecans
2 tablespoons cold butter

Mix until crumbly. Refrigerate until ready to use.

Good for Almost Everything Pie Dough
For a 9 inch Single Crust

1-1/2 cups all purpose flour
2 tbsp sugar
3/4 tsp salt
1 ½ sticks (10 tbsp) very cold unsalted butter, cut into tbsp size pieces
2-1/2 tbsp very cold vegetable shortening, cut into 4 pieces
About 1/4 cup ice water

Put the flour, sugar, and salt in a food processor fitted with a metal blade, pulse just to combine the ingredients. Drop in the butter and shortening and pulse only until the butter and shortening are cut into the flour. Don’t overdo the mixing- what you’re aiming for is to have some pieces the size of fat green peas and others the size of barley. Pulsing the machine on and off, gradually add about 3 tablespoons of the water- add a little water and pulse once, add some more water, pulse again and keep going that way. Then use a few long pulses to get the water into the flour. If, after a dozen or so pulses, the dough doesn’t look evenly moistened or form soft curds, pulse in as much of the remaining water as necessary, or even a few drops more, to get a dough that will stick together when pinched. Big pieces of butter are fine. Scrape the dough out of the bowl and onto a work surface.

Divide the dough in half. Gather each half into a ball, flatten each ball into a disk and wrap each half in plastic. Refrigerate the dough for at least 1 hour before rolling (if your ingredients were very cold and you worked quickly, though, you might be able to roll the dough immediately: the dough should be as cold as if it had just come out of the fridge).

To Roll Out the Dough:

Have a buttered 9 inch pie plate at hand.

You can roll the dough out onto a floured surface or between sheets of wax paper or plastic wrap or in a rolling slipcover. If you’re working on a counter, turn the dough over frequently and keep the counter floured. If you are rolling between paper, plastic or in a slipcover, make sure to turn the dough over often and to life the paper, plastic, or cover frequently so that it doesn’t roll into the dough and form creases.

If you’ve got time, slide the rolled out dough into the fridge for about 20 minutes to rest and firm up.

Tuesday, October 21, 2008

Pumpkin Muffins (TWD)


This week's Tuesdays with Dorie (TWD) recipe was chosen by Kelly of Sounding My Barbaric Gulp: Pumpkin Muffins. Dorie describes these as having a "moist and tender cakey crumb," with "a gentle spiciness," and a "sprinkling of sunflower seeds across their crowns."


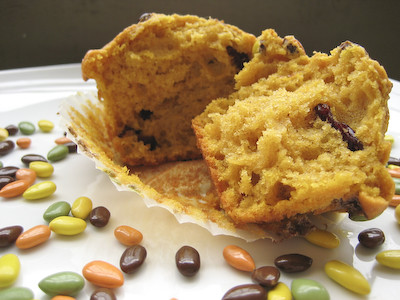
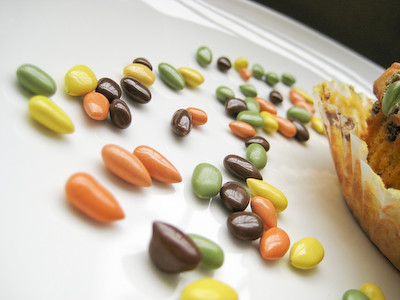
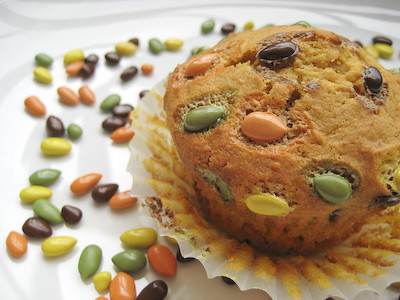
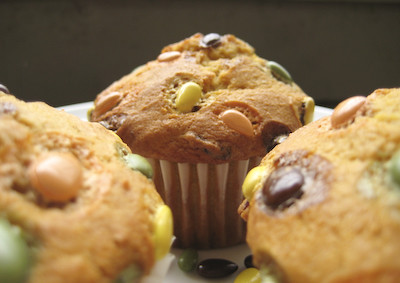
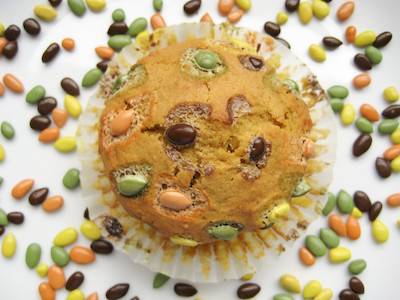
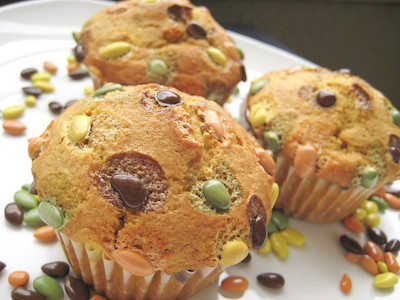
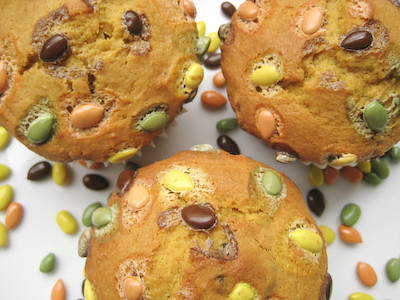
When I saw that this recipe called for sunflower seeds, I immediately knew I wanted to use the chocolate covered sunflower seeds I had on hand. Why did I have chocolate covered sunflower seeds in my pantry? Because of Peabody. Several months ago, when I saw this post on her blog for chocolate covered sunflower seed cookies, I fell in love with the cute little candies. They are from Trader Joe's, and although I live nowhere near a Trader Joe's, I make myself a list of things to get from them whenever I go back to visit my family in California. After seeing them on Peabody's blog, I made sure to pick them up on my last trip to California.


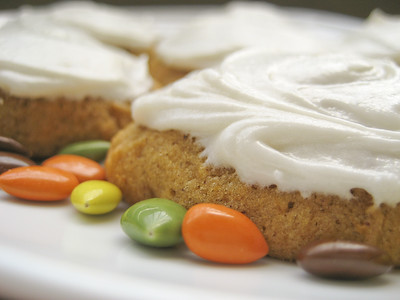
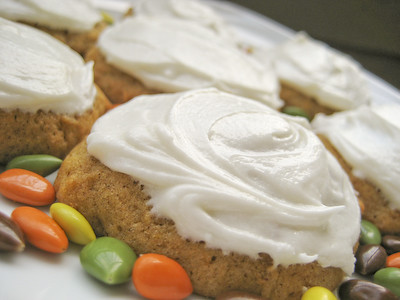
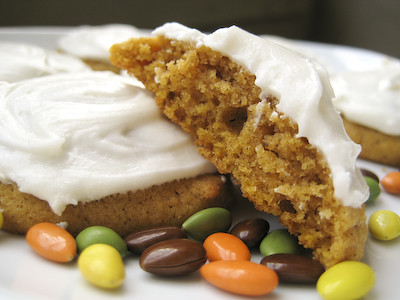
I recently made some pumpkin cookies that, while very delicious, were very blah looking and bland. So I decided to use these chocolate covered sunflower seeds to add a little color and pop to the pictures. After using them in that post, I had a few readers comment that you can also sometimes find something similar at some of your more upscale grocery or specialty stores. So, if you're one of those poor souls who doesn't live near a Trader Joe's (like me), you might not be totally out of luck.


Like most muffin recipes, this one was very simple. I substituted dried cranberries for the raisins (not because I don't like raisins, but just because that's what I had on hand). I don't like nuts, so I omitted the pecans/walnuts from this recipe, instead added more dried cranberries in their place. Some TWD bakers added chocolate chips as well. This is a highly adaptable recipe. It's also another great recipe to make when you have a little leftover canned pumpkin, as it calls for 3/4 cup (also make sure you use canned pumpkin and not pumpkin pie filling).

It seems that the opinions about these muffins among the TWD group were mixed, though I think the vast majority of bakers seemed to love them. I was in the minority - I didn't fall in love with them. They were okay, but didn't "wow" me like some of Dorie's other recipes did. I found the pumpkin flavor to be fairly subtle (a plus for those who don't particularly care for pumpkin, I guess). Like the orange berry muffins, I found the crumb to be perfectly moist and tender, but not sweet enough at all. Perhaps they might be better with some orange marmalade or apricot jam to increase the sweet factor, as Dorie suggests.


While these were adorable and fun to photograph, I probably won't be making them again. They were perfect for breakfast now that it's fall, but I just don't see myself ever having a craving for these and baking them. When I want an indulgent pumpkin treat, I'll make the pumpkin cookies instead. Don't let that stop you from trying these, though, because like I said, a lot of others in the group really enjoyed them.


Thanks Kelly, for choosing this week's pick. If you would like the recipe, you can find it here. Make sure you visit the TWD Blog Roll to see what everyone else thought of this fall treat. For those who have been on the fence about joining Tuesdays with Dorie - you have until October 31st to join. I've really enjoyed baking my way through this book with the group, and would encourage anyone who is interested to join now. After the end of this month, membership in the group will be closed.


*A few recipe notes:
- I used dried cranberries instead of raisins. I also added 3/4 cup instead of 1/2 cup.
- I used a dark metal muffin pan and my muffins were finished baking after 22 minutes instead of the full 25 minutes indicated. Some bakers found that their muffins were done as early as 17 minutes.
- I used chocolate covered sunflower seeds instead of raw sunflower seeds on top.
- Wrapped airtight, these can be frozen for up to 2 months. Rewarm in a 350F oven, or split and toast the muffins before serving.
- For more recipe tips, click here.

Thursday, October 9, 2008

Pumpkin (Walnut) Cookies


I love these pumpkin cookies. I make them every fall. They're one of my favorite fall treats. They are soft, cakey cookies topped with a spiced cream cheese frosting.... mmmm.


I'm sure if you like nuts, the walnuts in these would be nice too, but as you know I don't like nuts so I omitted them. It can be a little tricky figuring out when these are done baking, as the recipe gives the vague description of "8 to 10 minutes or until set." Just watch the edges of the cookies - they will begin to brown ever so slightly when they are done.


These are always a huge hit whenever I make them. I had one person tell me that these cookies were "orgasmic," and another stated that these were the best cookies she had ever had in her life.


With all the pumpkin goodies being baked up during the fall, you somehow always end up with a partially used can of pumpkin. So, if you're looking for something to make with leftover canned pumpkin, this is it. These would be perfect to bring to Thanksgiving dinner because they are so simple to make, and I'm sure they would be a welcome change from the same old pumpkin pie.

You might also want to try these other pumpkin recipes:
Pumpkin Cinnamon Streusel Buns
Pumpkin Cheesecake with Caramel Sauce

Pumpkin Spice Cake with Honey Frosting
Pumpkin Roll

Pumpkin Walnut Cookies
from Land O'Lakes

1 cup (2 sticks) unsalted butter, at room temperature (I used salted butter and omitted the salt from the recipe)
2/3 cup firmly packed brown sugar
1/3 cup sugar
1 cup (8 ounces) canned pumpkin (pumpkin comes in 15 ounce cans; not pumpkin pie filling)
1 egg
1 teaspoon vanilla
2 cups all-purpose flour
1 1/2 teaspoons pumpkin pie spice or ground cinnamon (I used pumpkin pie spice)
1 teaspoon baking powder
1 teaspoon baking soda
1/4 teaspoon salt
1 cup chopped walnuts (I omitted these)

Frosting
2 cups powdered sugar (I recommend sifting this)
1/4 cup (1/2 stick) unsalted butter, softened
1 (3-ounce) package cream cheese, softened (I used 1/3 less fat Neufchatel cheese)
1 teaspoon vanilla
1/4 teaspoon pumpkin pie spice or ground cinnamon (I used pumpkin pie spice)
Walnut pieces, if desired (I omitted these)

Heat oven to 350°F. Combine butter, brown sugar and sugar in large bowl. Beat at medium speed, scraping bowl often, until creamy. Add pumpkin, egg and vanilla. Continue beating until well mixed. Reduce speed to low; add flour, 1 1/2 teaspoons pumpkin pie spice, baking powder, baking soda and salt. Beat, scraping bowl often, until well mixed. Stir in 1 cup walnuts by hand.

Drop by rounded teaspoonfuls, 2 inches apart, onto ungreased cookie sheets. Bake for 8 to 10 minutes or until set. (I bake mine for 11-12 minutes. They will start to become slightly golden around the edges when they are done.) Cool completely. (I let them cool on the baking sheet for 5 minutes before transferring them to a cookie rack to finish cooling - they are soft and delicate, so be careful.)

Combine all frosting ingredients except walnut pieces in medium bowl. Beat at low speed, scraping bowl often, until smooth. Frost cooled cookies. Garnish with walnuts, if desired.

Yield: 5 dozen cookies


Sunday, November 25, 2007

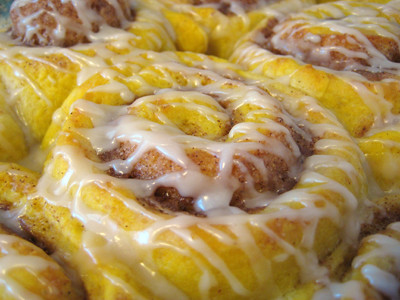
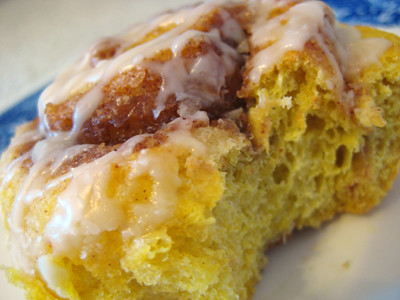
Pumpkin-Cinnamon Streusel Buns


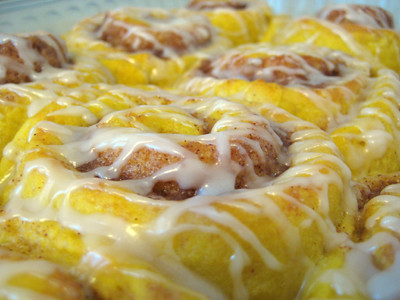
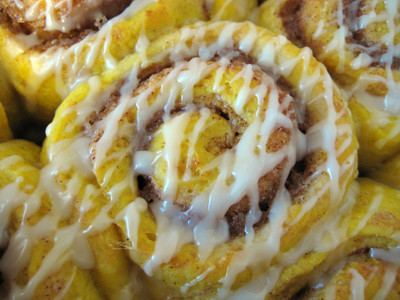
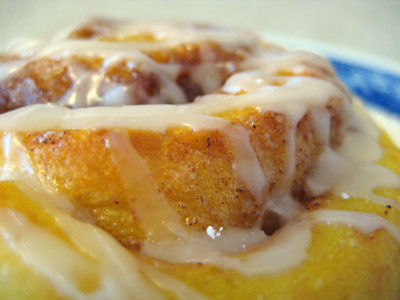
I recently found myself with some leftover canned pumpkin, so I went in search of a good recipe to use up the rest of it. That's when I came across this recipe. At a mere 219 calories per roll, I thought it was worth trying (especially when compared to the 525 calories in your traditional cinnamon roll!).


I have to say that these were good, but they definitely tasted light/low fat. The pumpkin flavor is really subtle, and no one really knew there was pumpkin in this until I told them. I was hoping that the flavor would come through more, making this the perfect fall treat.

This is one of the those cases where I feel like if you are going to go to the trouble of making homemade cinnamon rolls, you should just go for it and make these 525 calorie cinnamon rolls which are to die for. That said, if you are on a diet and start really craving cinnamon rolls, this would be a suitable alternative.

Pumpkin-Cinnamon Streusel Buns

from Cooking Light


Buns:
1 package dry yeast (about 2 1/4 teaspoons)
1/4 cup warm water (100° to 110°)
2 3/4 cups all-purpose flour, divided (you need approximately 1 extra cup if using canned pumpkin)
1/2 cup Pumpkin Puree (I used canned pumpkin)
1/2 cup 1% low-fat milk
1/4 cup butter, melted
1 tablespoon granulated sugar
1 1/4 teaspoons salt
1/4 teaspoon ground nutmeg
Cooking spray
3 tablespoons granulated sugar
3 tablespoons brown sugar
2 tablespoons all-purpose flour
1 1/2 teaspoons ground cinnamon
2 tablespoons chilled butter, cut into small pieces

Glaze:
3/4 cup sifted powdered sugar
1 tablespoon hot water
1/4 teaspoon vanilla extract

To prepare the buns, dissolve yeast in warm water in a large bowl; let stand for 5 minutes. Lightly spoon flour into dry measuring cups, and level with a knife. Add 2 cups flour, pumpkin, and next 5 ingredients (pumpkin through nutmeg); beat with a mixer at medium speed until smooth. Turn dough out onto a floured surface. (At this point, I left the dough in the mixing bowl and switched from my KitchenAid Mixer's flat beater to the dough hook.) Knead until smooth and elastic (about 10 minutes); add enough of the remaining 3/4 cup flour, 1 tablespoon at a time, to prevent dough from sticking to hands (dough will feel tacky). (I ran the mixer on speed 2 until the dough no longer stuck to the sides of the bowl and started flopping around it.)

Place the dough in a large bowl coated with cooking spray, turning to coat top. Cover and let rise in a warm place (85°), free from drafts, for 45 minutes or until doubled in size. (Press two fingers into the dough. If an indentation remains, the dough has risen enough.)

Combine 3 tablespoons granulated sugar, brown sugar, 2 tablespoons flour, and cinnamon in a small bowl. Cut in butter with a pastry blender or 2 knives until mixture resembles coarse meal.

Punch dough down; cover and let rest for 5 minutes. Roll the dough into a 12 x 10-inch rectangle on a floured surface. Sprinkle with brown sugar mixture. Roll up the rectangle tightly, starting with a long edge, pressing firmly to eliminate air pockets; pinch seam and ends to seal. Cut roll into 12 (1-inch) slices. Place slices in a 9-inch square baking pan coated with cooking spray. Cover and let rise 25 minutes or until doubled in size.

Preheat oven to 375°.

Bake the rolls at 375° for 20 minutes or until golden brown. Cool for 15 minutes in pan on a wire rack.

To prepare the glaze, combine the powdered sugar, 1 tablespoon water, and vanilla extract in a small bowl, stirring with a whisk until smooth. Drizzle glaze over buns. Serve warm.

Yield: 12 servings (serving size: 1 bun)

Saturday, November 3, 2007

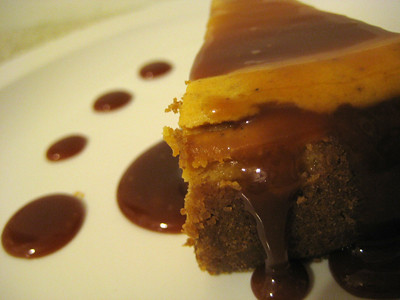
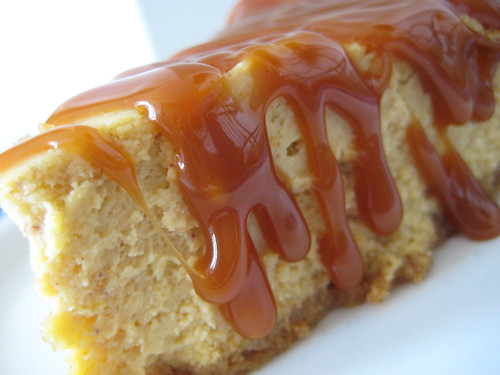
Pumpkin Cheesecake with Caramel Sauce


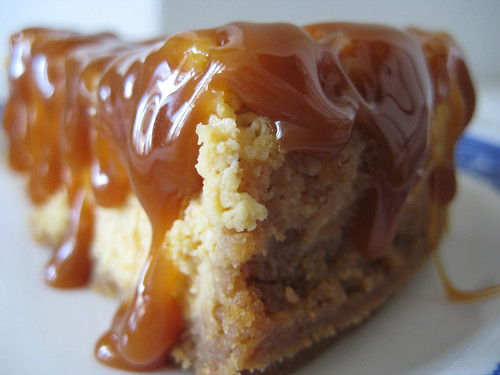
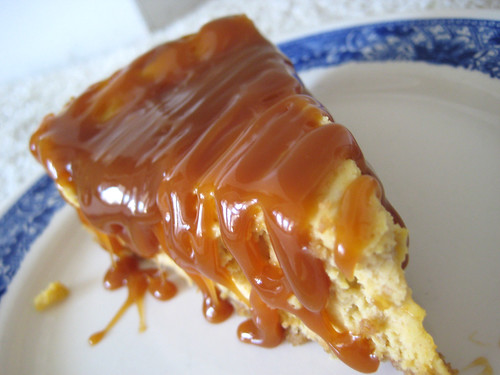
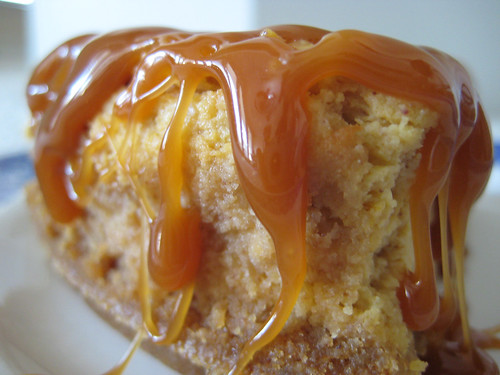
I have been wanting to make a pumpkin cheesecake for a while now. I wasn't sure which recipe I wanted to use, as I had seen this recipe on the Williams-Sonoma website and most of their recipes are pretty good. However, as I was searching for a recipe I came across this one from RecipeZaar. The only kind of pumpkin cheesecake I've ever had was from the Cheesecake Factory, so that was how I finally decided to try the recipe below. It has honestly been such a long time since I had the Cheesecake Factory version, so I can't really comment on how close of a copycat recipe this really is. Regardless, this turned out so good and everyone at work loved it... including those who don't like pumpkin! :) Everyone requested the recipe...


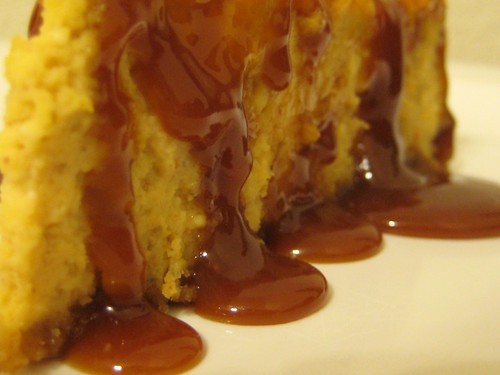
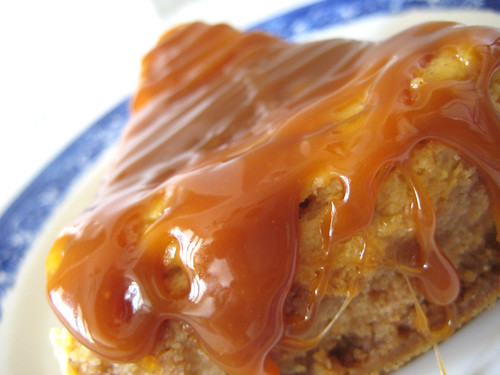
I had seen a few recipes in which the cheesecake was topped with a caramel sauce and thought that would be a great idea. So I went to my 'go-to' blog, Culinary Concoctions by Peabody, in search of a great caramel sauce. Wow, did I ever find a good recipe for caramel sauce! I could eat this stuff up by the spoonful alone! :) I don't think I will ever buy caramel ice cream topping again... this was so much better!


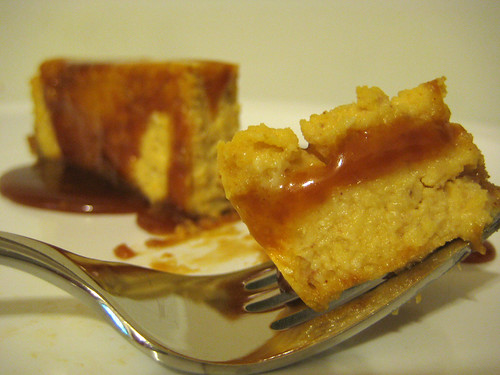
On a side note... you'll notice that the lighting in the photos in this post is not uniform. That's because by the time I finished this cheesecake, it was dark outside... so I took a set of photos with just our overhead/indoor lighting. Then I took another set the next day with natural lighting. For those who are working on their food photography skills, it's a great example of how lighting can affect the appearance of your photos.

The Cheesecake Factory Pumpkin Cheesecake
from RecipeZaar


1-1/2 cups graham cracker crumbs
5 tablespoons butter, melted
1 cup sugar, plus 1 tablespoon sugar
3 (8 ounce) packages cream cheese, softened
1 teaspoon vanilla
1 cup canned pumpkin
3 eggs
1/2 teaspoon cinnamon
1/4 teaspoon nutmeg
1/4 teaspoon allspice
caramel sauce, recipe to follow


Preheat oven to 350 degrees F.

Make the crust by combining the graham cracker crumbs with the melted butter and 1 tbsp sugar in a medium bowl. Stir well enough to coat all of the crumbs with the butter, but not so much as to turn the mixture into paste. Keep it crumbly. Put foil partway up the outside part of an 8-inch springform pan. Press the crumbs onto the bottom and about two-thirds of the way up the sides of the springform pan. You don't want the crust to form all of the way up the back of each slice of cheesecake. Bake the crust for 5 minutes, then set aside until you are ready to fill it.


In a large mixing bowl combine the cream cheese, 1 cup sugar, and vanilla. Mix with an electric mixer until smooth. Add the pumpkin, eggs, cinnamon, nutmeg and allspice and continue beating until smooth and creamy. Pour the filling into the pan. Bake for 60-70 minutes. The top will turn a bit darker at this point. Remove from the oven and allow the cheesecake to cool.


When the cheesecake has come to room temperature, put it into the refrigerator. When the cheesecake has chilled, remove the pan sides and cut the cake into 8 equal pieces. Top each slice with caramel sauce.

Caramel Sauce
from Culinary Concoctions by Peabody (original recipe from Baking: From My Home To Yours, by Dorie Greenspan, Houghton Mifflin 2006)


2 cups sugar
1/2 cup water
1-1/2 tbsp light corn syrup
2/3 cup heavy cream
2 tbsp unsalted butter, at room temperature


Put the sugar, water and corn syrup in a medium heavy bottomed saucepan, stir just to combine the ingredients and then put the pan over medium-high heat. Heat, without stirring , until the caramel turns deep amber., 5-10 minutes. Lower the heat a bit and, standing back from the saucepan add the cream and butter. When the spatters are less vehement, stir to calm down the caramel and dissolve any lumps.