


This weekend I finally overcame my fear and made a second attempt. When I saw this recipe for brown sugar raisin bread on Annie's Eats, I knew I wanted to try it. I was so worried the whole time I was making this, and kept second guessing my techniques. When I got to the step that says Knead on medium-low speed, adding flour 1 Tbsp at a time if the dough sticks, until smooth and elastic, about 4 minutes I was really concerned. I wish they had specified how much flour to add, but of course they can't because it can vary based on the humidity of your kitchen. I did not know how much flour to add, and did not want to add too much and end up with a brick. It definitely took me longer than 4 minutes to get the dough to where it needed to be, more like 10-15 minutes with my KitchenAid set at speed 2 (KitchenAid says not to use the dough hook at higher speeds). It seemed like I kept adding more and more flour and nothing was happening to the dough. I must have done it right, though, because in the end, I had two soft and moist, yummy loaves of bread :)
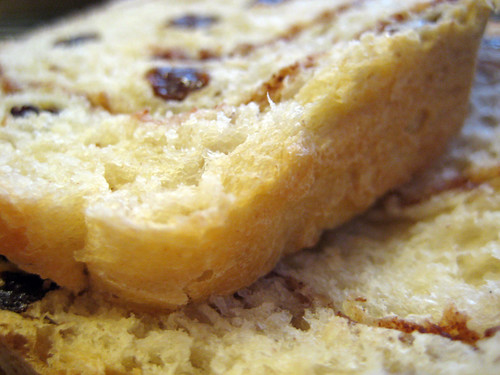
When adding the fill to the loaves, I eyeballed it instead of measuring the filling out and splitting it exactly in half. Well, turns out I added more filling to one loaf than the other... and I love how the one with more filling turned out. So I think next time I make this, I will add more filling to each loaf, and those changes have been indicated below.
Now that I have successfully created something with yeast, next on my list is cinnamon rolls! So stay tuned...
Brown Sugar-Raisin Bread
from Williams-Sonoma
1 Tbs. active dry yeast
3 Tbs. granulated sugar
1 1/4 cups warm water (105° to 115°F)
1 cup warm milk (105° to 115°F)
3 Tbs. unsalted butter, melted
1 Tbs. salt
1 egg, lightly beaten
6 to 6 1/4 cups bread flour, plus more as needed
3/4 cup golden raisins (I didn't have any, so I just used a total of 1-1/2 cups dark raisins. **After making this a second time, I suggest using 1-3/4 cups)
3/4 cup dark raisins
For the filling:
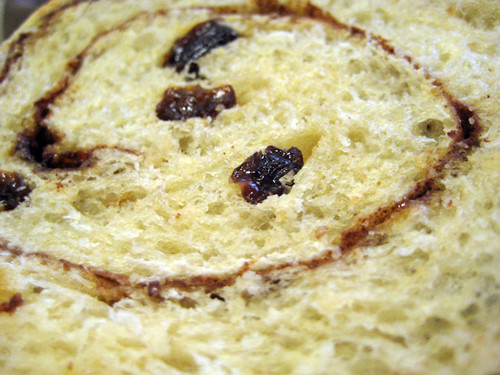
2/3 cup firmly packed light brown sugar mixed with 4 1/2 tsp. ground cinnamon (** This is even better with 1 cup brown sugar and 2 tbsp + 3/4 tsp cinnamon)
In a bowl, sprinkle the yeast and a pinch of the granulated sugar over 1⁄2 cup of the water and stir to dissolve. Let stand until foamy, about 10 minutes. (add about 1/2 tbsp of sugar - otherwise it only slightly foams.)
In the bowl of an electric mixer fitted with the flat beater, combine the remaining 3/4 cup water, the milk, butter, the remaining granulated sugar, salt, egg and 2 cups of the flour. Beat on medium speed until creamy, about 1 minute. Add the yeast mixture and 1⁄2 cup of the flour and beat for 1 minute. Add the raisins, then beat in the remaining flour, 1⁄2 cup at a time, until the dough pulls away from the sides of the bowl.
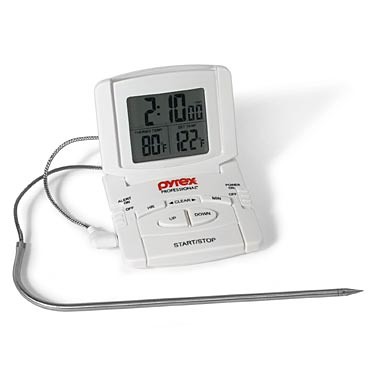
Switch to the dough hook. Knead on medium-low speed (speed 2 on your KitchenAid), adding flour 1 Tbsp at a time if the dough sticks, until smooth and elastic, about 4 minutes. (As you add the flour, the dough will become less sticky, until eventually the dough will not stick to the sides of the bowl at all and the dough hook will carry the dough around the bowl with it.) Transfer the dough to a greased deep bowl and turn to coat it. Cover loosely with plastic wrap and let rise at room temperature until doubled in bulk, 1 to 1 1⁄2 hours. (Since my husband keeps the apartment fairly cool, I heated my oven to 175°F, turned it off, left the door open for a few minutes to let some of the heat out, and then put the dough inside the oven to rise.)
Lightly grease two 9-by-5-inch loaf pans.
Turn the dough out onto a lightly floured board. Divide the dough in half and roll or pat each half into an 8-by-12-inch rectangle. Lightly sprinkle each rectangle with half of the filling, leaving a 1-inch border on all sides. Beginning at a narrow end, tightly roll up each rectangle into a compact log. Pinch the ends and the long seam to seal in the filling. Place each log, seam side down, in a prepared pan. Cover loosely with plastic wrap and let rise at room temperature until the dough is about 1 inch above the rim of each pan, 1 to 1 1⁄2 hours.
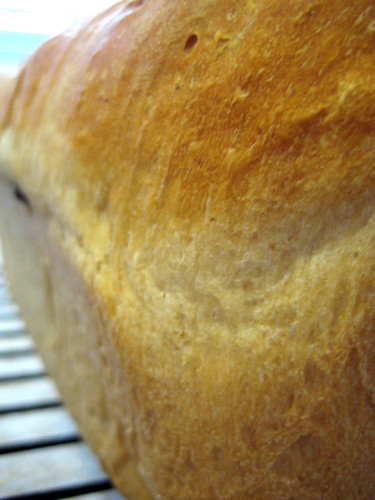
Preheat an oven to 350°F. Bake until the loaves are golden brown and pull away from the sides of the pan, 35 to 40 minutes. Turn the loaves out onto wire racks and let cool completely. Makes two 9-by-5-inch loaves.


Looks gorgeous! I'm so glad you tried it, and overcame your fear. Just keep practicing with yeast and you'll love the things you can make!
ReplyDeleteOh your pictures came out SOOO well! I had no idea you made this too or I would have put a link to your blog for fun! Looks great. Yeah... we made it two days ago and all we have is about 1/2 of the second loaf left. I don't know if it'll make it to the weekend for french toast. OH well! Just have to make more!! :)
ReplyDeleteThis looks amazing!! I am hoping to make some soon myself. And congratulations on overcoming your fear. Job well done.
ReplyDelete